If you’ve been asking yourself, “How do you use CapCut?”, you’re not alone. CapCut has become one of the most popular video editing tools in the world. From TikTok creators to YouTubers, millions of people use it to edit professional looking videos quickly and easily.
CapCut combines simplicity with powerful features. It offers tools like filters, transitions, text animations, and AI editing options that make it easy for anyone to turn ordinary clips into cinematic videos. Whether you’re working on your phone, desktop, or online, CapCut gives you all the flexibility you need.
This complete guide will walk you through how to use CapCut effectively, from installing it to mastering advanced features.
What Is CapCut?
CapCut is a free video editing software developed by ByteDance, the same company that owns TikTok. It’s available on Android, iOS, Windows, macOS, and even as a web editor.
CapCut is designed for everyone from absolute beginners to experienced editors. You can cut, merge, and enhance your videos, apply creative effects, use AI tools for automation, and export videos in high quality without watermarks.
Key Features of CapCut
- Simple timeline editing with drag and drop ease
- AI tools like background remover, text to speech, and auto captions
- Transitions, filters, and effects for creative storytelling
- Text animations and stickers to add character
- Multi layer editing for professional results
- Free templates for quick, trendy video creation
- Cloud sync between mobile and desktop devices
How to Use CapCut: Step by Step Guide
Let’s explore exactly how to use CapCut to edit and export professional quality videos.
Step 1: Download and Install CapCut
You can use CapCut in three ways:
- Mobile App – Download from the Google Play Store or Apple App Store.
- Desktop App – Visit capcut.com and click “Download for PC” or “Download for Mac.”
- Online Editor – Use CapCut directly in your web browser without installing anything.
The app is lightweight, free, and regularly updated. Once you open it, you’ll see a clean dashboard ready for your first project.
Step 2: Start a New Project
Click “New Project” to import your videos, images, or music. CapCut will display them on a timeline where you can trim, split, rearrange, or merge clips.
Basic tools include:
- Trim – Remove unwanted sections.
- Split – Cut clips into parts for precise edits.
- Combine – Merge multiple clips into one.
- Reverse – Play clips backward for creative transitions.
This is where you start building your story visually.
Step 3: Apply Filters, Transitions, and Effects
Once your clips are organized, it’s time to make them visually appealing.
Filters
CapCut offers a range of filters that adjust color, tone, and mood. Try cinematic, retro, or warm filters depending on your theme.
Transitions
Use transitions like fade, zoom, or glitch to move between clips smoothly. These create flow and keep your audience engaged.
Visual Effects
CapCut’s effects section includes motion blur, sparkle, flash, and dynamic overlays. They can be adjusted in strength and duration for customized looks.
Combining filters, transitions, and effects gives your video a professional polish without complex editing.
Step 4: Add Music and Sound Effects
Music and sound can completely change how your video feels.
In the Audio section, you can:
- Add background music from CapCut’s free sound library.
- Extract music from other videos.
- Record your own voiceovers.
- Use sound effects like whoosh, pop, or ambient sounds.
For cleaner sound, CapCut includes tools like noise reduction and vocal isolation. You can even sync your clips with beats automatically using beat sync.
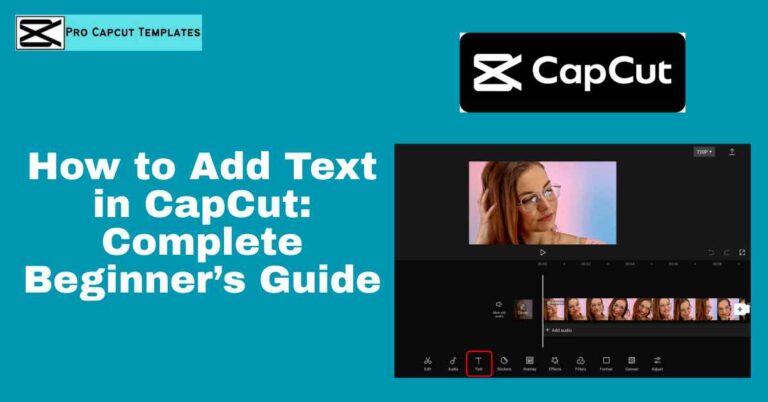
Step 5: Add Text, Captions, and Subtitles
To make your video informative or social media ready, add text and captions.
Manual Text
You can insert text manually and customize font, style, color, and animation. Animated text looks great on short form platforms like TikTok or Instagram Reels.
Auto Captions and Text to Speech
CapCut’s AI can automatically generate captions from audio or convert text into voice using text to speech. This saves time and ensures accessibility for your audience.
Step 6: Explore AI Editing Tools
CapCut has integrated several AI tools to simplify editing.
| Tool | Purpose |
|---|---|
| Auto Cutout | Removes background automatically |
| Text to Speech | Converts written text into natural voice |
| Auto Captions | Generates subtitles instantly |
| Color Match | Matches color tone across clips |
| Auto Reframe | Adjusts videos for TikTok, YouTube, and Reels |
| Face Enhancement | Smooths skin and improves facial lighting |
These tools automate time consuming tasks and give your videos a consistent, professional appearance.
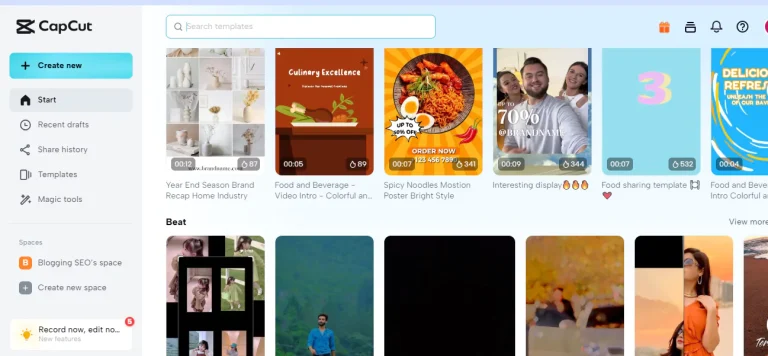
Step 7: Use Templates for Quick Edits
CapCut templates are ready made video layouts that let you create polished videos in minutes. Simply select a template, add your clips, and export.
Templates are especially useful for:
- TikTok trends
- Instagram Reels
- YouTube Shorts
You can search trending CapCut templates directly within the app or use ones shared on social media platforms. They save time and help you follow popular editing trends effortlessly.
Step 8: Add Stickers, Overlays, and Animation
CapCut offers a library of stickers, emojis, and overlays to add personality to your videos. You can place them anywhere and animate their movement using keyframes for motion effects.
You can also blend layers, create masking effects, or use multiple video layers to achieve creative compositions all within a few clicks.
Step 9: Export and Share Your Video
Once you’re happy with the final result:
- Click Export.
- Choose your resolution (720p, 1080p, or 4K).
- Select your frame rate (30fps, 60fps, etc.).
- Decide whether to export with or without watermark.
CapCut allows direct sharing to TikTok, YouTube, or Instagram. For higher quality, exporting in 4K is recommended if your original footage supports it.
CapCut Desktop vs Mobile: Which Should You Use?
| Feature | CapCut Desktop | CapCut Mobile |
|---|---|---|
| Editing Power | High, supports heavy projects | Light and fast for short clips |
| Interface | Multi track timeline | Touch friendly design |
| AI Tools | Advanced features available | Limited but growing |
| Export Options | Up to 4K | Up to 1080p |
| Ideal For | YouTubers and vloggers | TikTok, Reels, short videos |
If you need detailed control and higher export quality, CapCut Desktop is ideal. For quick, on the go editing, CapCut Mobile is faster and more convenient.
How to Use CapCut for Different Platforms
For TikTok
Edit vertically using the 9:16 aspect ratio. Add captions, trending sounds, and transitions that match beat drops.
For YouTube
Use the 16:9 aspect ratio. Add intros, outros, subtitles, and background music for professional quality results.
For Instagram Reels
Keep your edits short and dynamic. Use templates to quickly follow trends and maintain consistent style.
CapCut automatically helps optimize videos for each platform with its auto reframe and export settings.
Advanced Editing Tips and Techniques
- Use masking to reveal clips creatively.
- Add motion blur and adjust speed curves for cinematic effects.
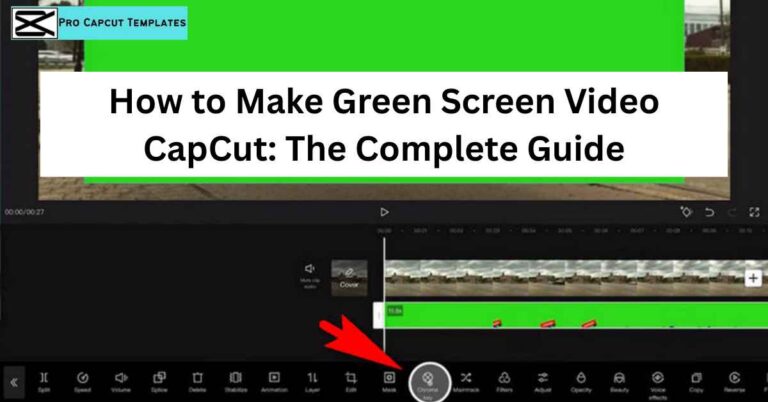
- Use chroma key for green screen backgrounds.
- Stabilize shaky footage with video stabilization.
- Experiment with CapCut stock videos and sound effects to enhance storytelling.
- Keep your videos short, snappy, and visually rich this performs best on social media.
Read More: What to Use Instead of CapCut
CapCut Pro vs Free Version
| Feature | Free Version | Pro Version |
|---|---|---|
| Templates | Basic | Exclusive premium templates |
| Export | 1080p | 4K + watermark free |
| AI Tools | Limited | Full suite access |
| Assets | Standard | Premium stock and effects |
| Cloud Storage | Basic | Extended capacity |
The free version of CapCut is powerful enough for most creators. However, upgrading to CapCut Pro unlocks additional AI tools, premium templates, and better export quality.
CapCut vs Other Editors
| Software | Best For | Why Compare with CapCut |
|---|---|---|
| InShot | Quick mobile edits | Similar interface and effects |
| VN Editor | YouTubers | Free export and transitions |
| Canva Video | Social creators | Template based approach |
| DaVinci Resolve | Professionals | High end color grading |
CapCut’s advantage lies in its mix of simplicity, free access, and cross platform usability. It gives professional output without the complexity of heavy software.
Final Thoughts:
CapCut is more than just a mobile editor it’s a full creative suite for modern video creation. It allows beginners to make professional level edits without complicated tools or expensive software.
From adding music and transitions to using AI tools like background remover or auto captions, every feature is designed to make editing faster and more enjoyable.
Whether you’re creating TikTok videos, YouTube content, or personal vlogs, CapCut gives you everything you need in one place.
FAQs About How Do You Use CapCut
1. Is CapCut free to use?
Yes, CapCut is completely free. Some advanced tools and templates are available under CapCut Pro, but the free version is powerful enough for most users.
2. How do I remove a background in CapCut?
Use the Auto Cutout or Background Remover tool under the AI section. It automatically separates the subject from the background.
3. Can I use CapCut without a watermark?
Yes, you can remove the watermark in export settings or by subscribing to CapCut Pro.


